
When we think of Performance Testing, the first name we hear is JMeter. JMeter tool is available since 1998 and the user friendly GUI allows testers quickly add the load tests against Web, API, DB etc..
Performance/Load Testing is all about generating load and applying that to our Application Under Testing to know its limitations. Few crucial Points to know about JMeter before we jump on to learn k6
JMeter require Java installation as pre-requisite(And the Environment variables setup)
In JMeter majority of the features are available only by installing plugins, Even the plugin manager has to be installed post installing JMeter
With JMeter one can execute maximum of 1000 Virtual Users on average in one machine, More than this requires Distributed load generators as JMeter is resource-hungry.
As we now have basic information on JMeter let’s check what is k6.
What is k6 ?
k6 is an open source load testing tool which is available since 2017. k6 is written in Go language, which results in better performance as original Go language itself is created keeping performance in mind.
Load tests in k6 are written in javascript/typescript.
Single instance of k6 can run thousands of virtual users in the same machine without needing of multiple agents for distributing load.
k6 supports following protocols
- Web — HTTP/1.1, HTTP/2 (Java, NodeJS, PHP, ASP.NET, …)
- WebSockets
- gRPC
- SOAP / REST Webservices
What do we need to start with k6 ?
- Install k6 based on Operating System
Mac
brew install k6Windows
If you use the Windows Package Manager
winget install k6Regular download file for installation can be found here
2. Visual Studio Code — For creating tests based on javascript/typescript
Writing our first k6 load test
In this article we shall be
- Creating a Simple load test
- Adding Thresholds and Virtual users
- Running test using k6
- Generating HTML Report

Creating a Simple load test
To create a simple load test using k6, create a folder and open that in the Visual Studio Code
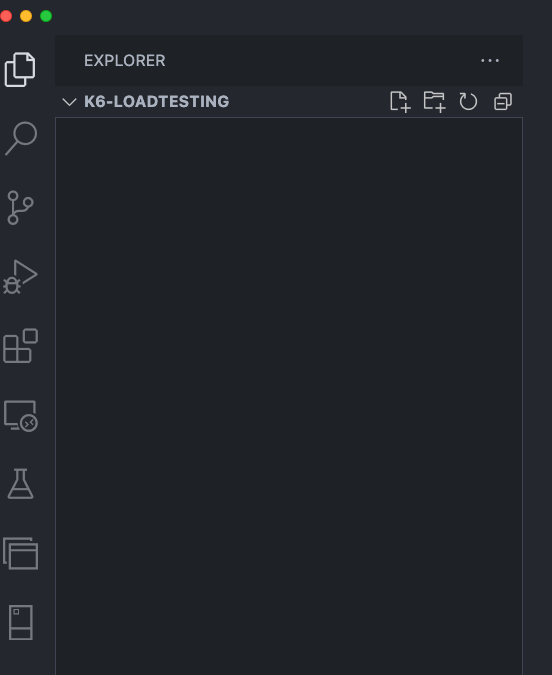
Click on New file icon and create a javascript file
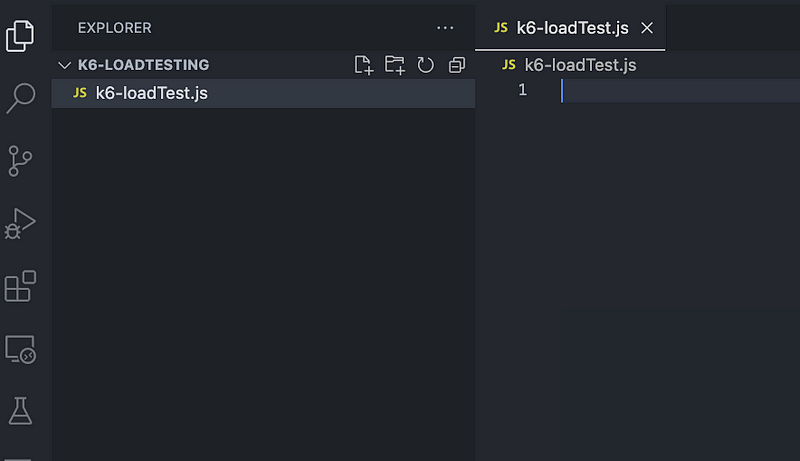
To write our first test all we need to do is
- Import http object reference from k6
- export a default function which will contain accessing API request using imported http object
import http from "k6/http";

export default function () {
  http.get("https://test-api.k6.io/public/crocodiles/");
}
Simple isn’t it!!! Our first load test is ready and we can run this.
To run the load test, we need execute below command (k6 should be installed in the machine) in the terminal.
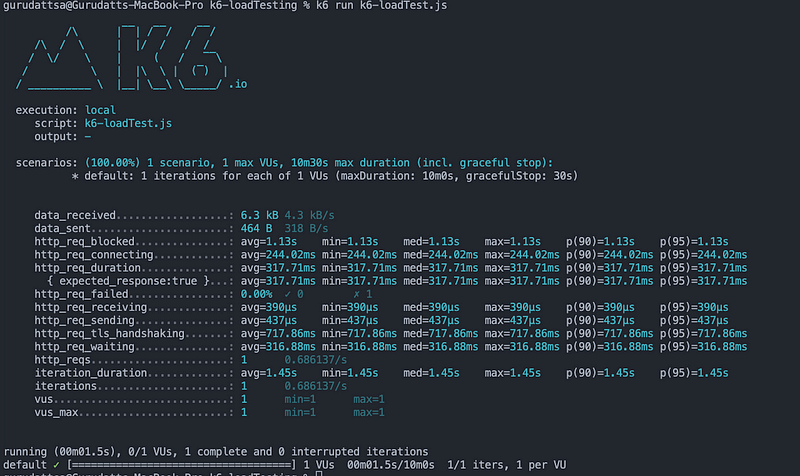
k6 run k6-loadTest.jsk6 will now run our load test script and produces metrics like below. By default k6 runs the load test with 1 virtual user and 1 iteration.
The execution summary contains
- Standard built-in metrics — vus, data_recieved, iterations, iteration_duration, data_sent, vus_max
- HTTP-specific built-in metrics — http_req_blocked, http_req_connecting, http_req_duration, http_req_failed, http_req_receiving, http_req_sending, http_req_tls_handshaking, http_req_waiting, http_reqs
Adding Threshold and Virtual Users
Adding Thresold
Adding Threshold is nothing but adding an acceptance criteria where we specify what is the accepted request duration, what percentage of failed requests are acceptable and so on
To see this in action, we need to export a constant called options, this constant will contain thresholds and k6 will use these for measuring the acceptable threshold.
import http from "k6/http";

export const options = {
  thresholds: {
    http_req_duration: ["p(95)<150"],
  },
};

export default function () {
  http.get("https://test-api.k6.io/public/crocodiles/");
}
As we can see, i have added a threshold for one of the HTTP-specific built-in metrics, which is http_req_duration. We can set the array as value and in the above test, we have specified a threshold for 95 Percentile of requests duration must be below 150 milliseconds
If we rerun the above test
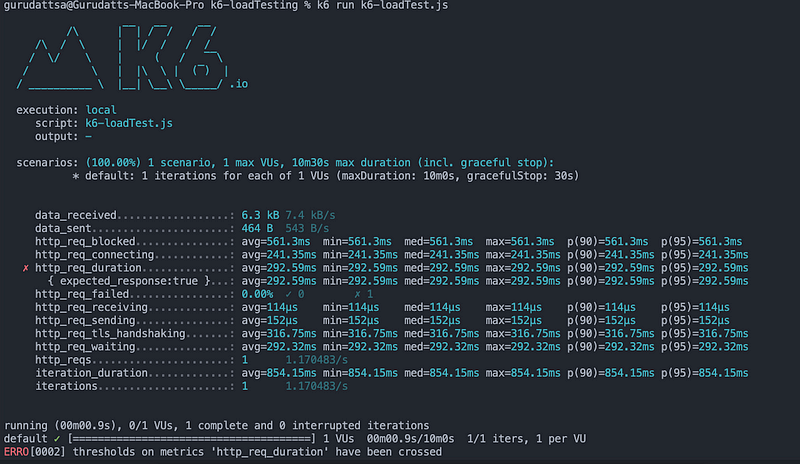
We can see the error saying thresholds on metrics ‘http_req_duration’ have been crossed. This is because we have specified the threshold limit in our test like below.
export const options = {
  thresholds: {
    http_req_duration: ["p(95)<150"],
  },
};
Adding Virtual Users
Adding Virtual Users creates multiple threads and executes the API request to generate the load, we can specify the Number of Virtual users inside our options like below along with duration to execute.
export const options = {
  thresholds: {
    http_req_duration: ["p(95)<150"],
  },
  vus: 10,
  duration: "10s",
};“vus” property specifies the number of virtual users and “duration” specifies the maximum time the load has to be applied.
Now our test will look like below
import http from "k6/http";

export const options = {
  thresholds: {
    http_req_duration: ["p(95)<150"],
  },
  vus: 10,
  duration: "10s",
};

export default function () {
  http.get("https://test-api.k6.io/public/crocodiles/");
}
And running this test will generate summary in console like below
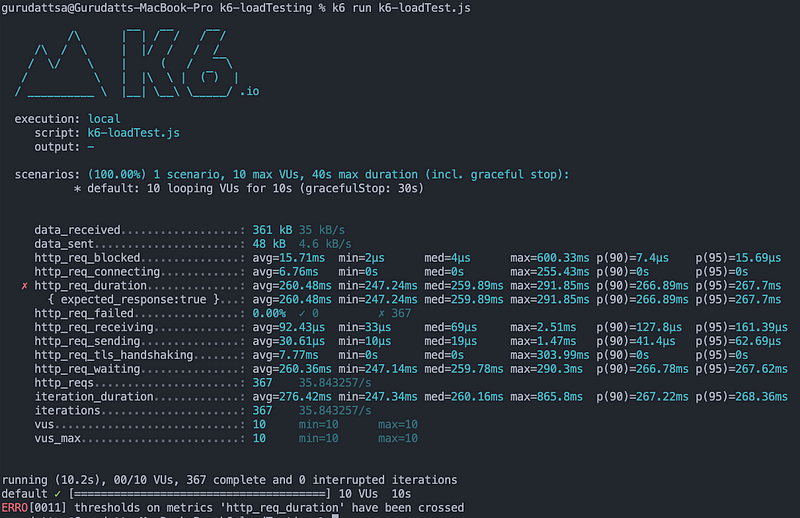
As we can see 10 Virtual users has been created to run for maximum 10 seconds.
Generating HTML Report
To generate the HTML Report we need to make use of the k6-reporter library.
First we import the htmlReport reference from k6-reporter and then export handleSummary() function
import { htmlReport } from "https://raw.githubusercontent.com/benc-uk/k6-reporter/main/dist/bundle.js";

export function handleSummary(data) {
  return {
    "summary.html": htmlReport(data),
  };
}
At the end of execution handleSummary function is called by k6 and execution result data is passed as parameter, which is then passed to htmlReport function which creates the HTML report with passed on data and the name of the HTML file will be the key against htmlReport() function
Our test will look like below now.
import http from "k6/http";
import { htmlReport } from "https://raw.githubusercontent.com/benc-uk/k6-reporter/main/dist/bundle.js";

export const options = {
  thresholds: {
    http_req_duration: ["p(95)<150"],
  },
  vus: 10,
  duration: "10s",
};

export default function () {
  http.get("https://test-api.k6.io/public/crocodiles/");
}

export function handleSummary(data) {
  return {
    "summary.html": htmlReport(data),
  };
}
We don’t need to execute any additional command to generate report.
So all we need to execute now in
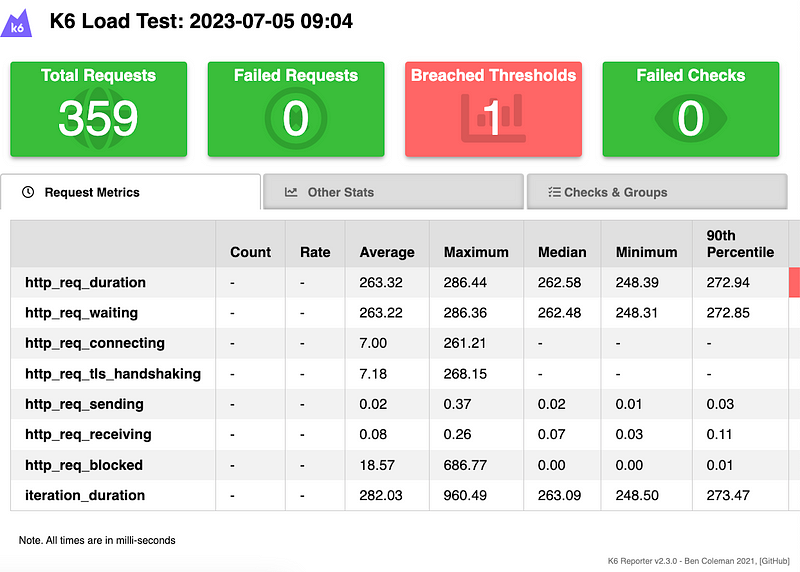
k6 run k6-loadTest.jsWe can see that “summary.html” file is generated in the root of the folder

If we open the “summary.html” we can see the report with all the details displayed like below.
The source code for this can be found here
Hope this article has helped to understand basics of k6.
Please do not forget to support by clapping.
I will be creating more articles explaining more topics of k6 in upcoming days.
Happy Learning.


Leave a comment